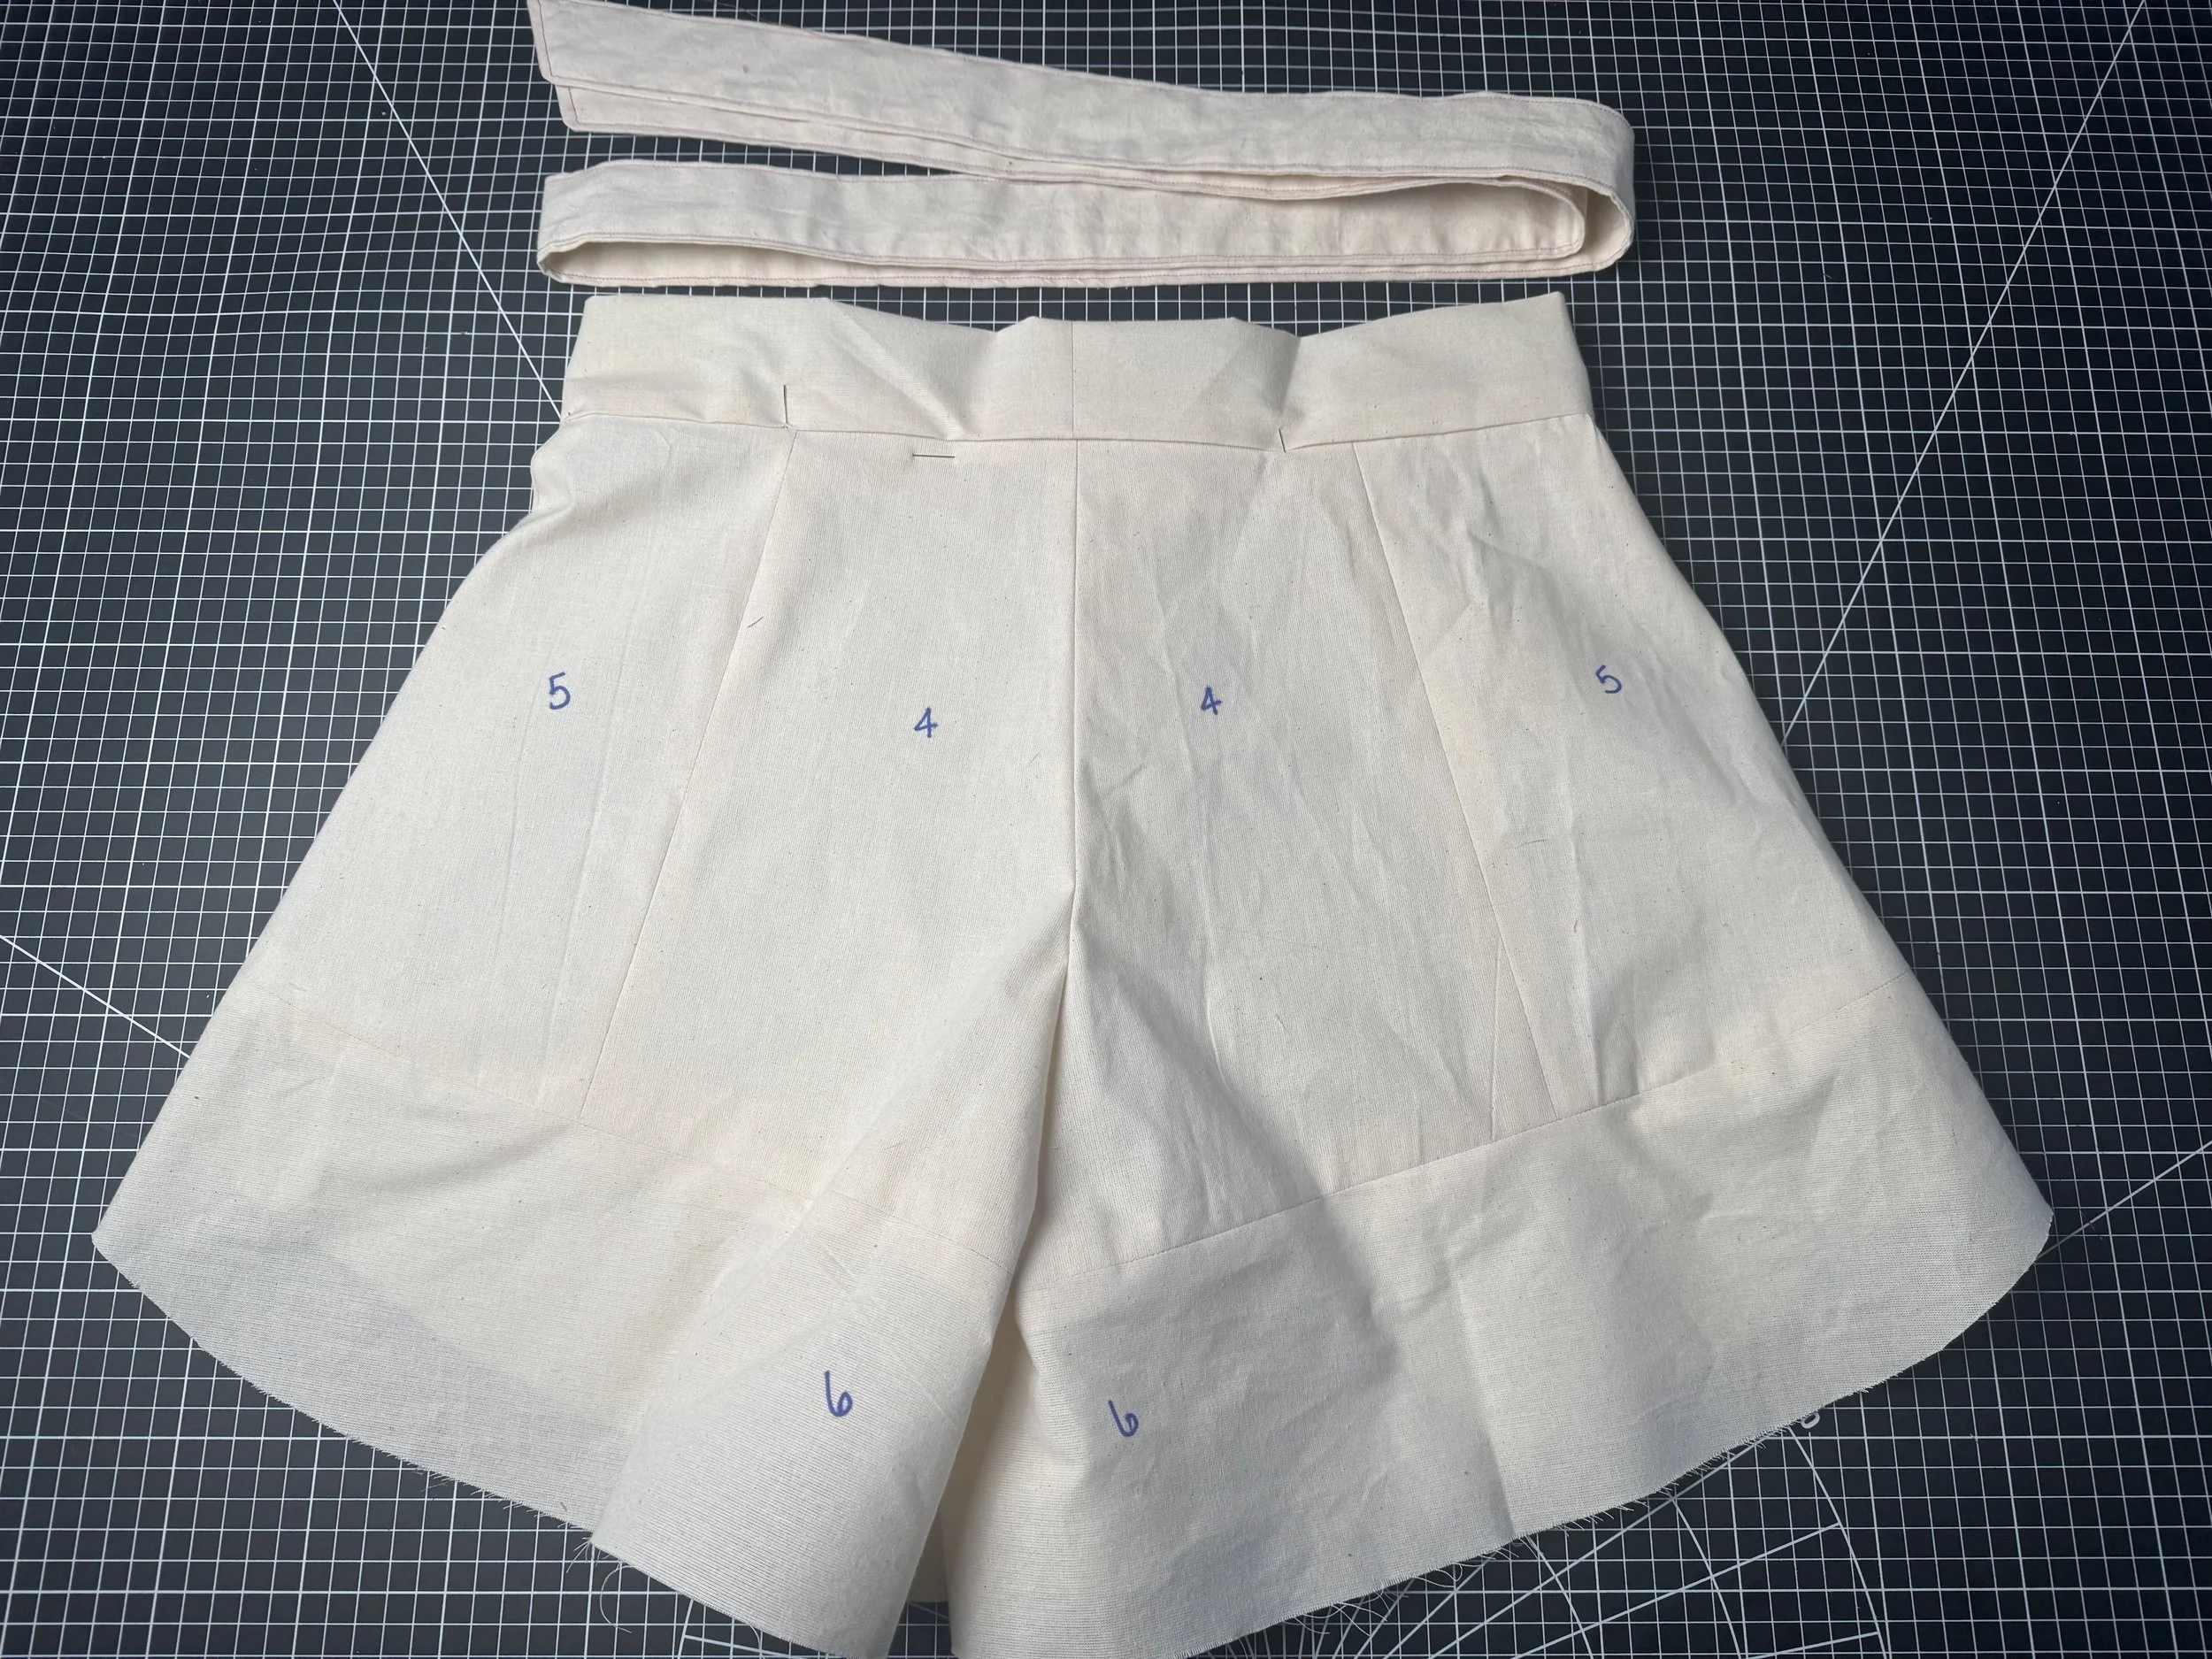
Next up:
Belt loops - piece 18
 [caption id="" align="alignnone" width="5712"]
 Press this piece in half lengthways. [/caption]
[caption id="" align="alignnone" width="5712"]
Press this piece in half lengthways. [/caption]
[caption id="" align="alignnone" width="5712"] Use the center line, to fold the seam allowances into the middle. Press again. [/caption]
[caption id="" align="alignnone" width="5712"]
Use the center line, to fold the seam allowances into the middle. Press again. [/caption]
[caption id="" align="alignnone" width="5712"] Fold in half once more. [/caption]
[caption id="" align="alignnone" width="5712"]
Fold in half once more. [/caption]
[caption id="" align="alignnone" width="5712"] Stitch lengthways along both edges. Press again. [/caption]
[caption id="" align="alignnone" width="5712"]
Stitch lengthways along both edges. Press again. [/caption]
[caption id="" align="alignnone" width="5712"] We need five belt loops for the shorts, measure your strip and divide by 5. Mine is approximately 4.5” [/caption]
 [caption id="" align="alignnone" width="5712"]
 Sew your tabs within the seam allowance, sew each at least twice with a machine stitch. [/caption]
 [caption id="" align="alignnone" width="5712"]
 Next, we need to prepare our waistband. Interfacing might be necessary for stability depending on your fabric, if so, interface half the pieces lengthways to reduce bulk. [/caption]
[caption id="" align="alignnone" width="5712"]
Next, we need to prepare our waistband. Interfacing might be necessary for stability depending on your fabric, if so, interface half the pieces lengthways to reduce bulk. [/caption]
[caption id="" align="alignnone" width="5712"] If you have chosen to extend your waistband to cover the fly guard seam, add 2” to one end - shown with the blue zipper. If your fabric is thick, it might be more comfortable to stop the waistband at the fly guard start as shown with the pink zipper. Sewers choice! [/caption]
 [caption id="" align="alignnone" width="4032"]
 Sew 16 to 17 and press open. Fold the waistband lengthways, and press. We will finish our band using stitch in the ditch, press your 5/8” fold now for ease. [/caption]
[caption id="" align="alignnone" width="4032"]
Sew 16 to 17 and press open. Fold the waistband lengthways, and press. We will finish our band using stitch in the ditch, press your 5/8” fold now for ease. [/caption]
[caption id="" align="alignnone" width="4032"] Place the waist center seam at the shorts back center seam and pin well. Ease your waistband around the shorts, pinning well. There will be a longer overlap on the right side, if you have not extended the fly. Sew, using a 5/8” seam allowance. [/caption]
[caption id="" align="alignnone" width="3766"]
Place the waist center seam at the shorts back center seam and pin well. Ease your waistband around the shorts, pinning well. There will be a longer overlap on the right side, if you have not extended the fly. Sew, using a 5/8” seam allowance. [/caption]
[caption id="" align="alignnone" width="3766"] Sew at 5/8”. If you have a thick fabric, grade to reduce bulk (shorten one seam slightly so they “step” on each other) [/caption]
[caption id="" align="alignnone" width="4284"]
Sew at 5/8”. If you have a thick fabric, grade to reduce bulk (shorten one seam slightly so they “step” on each other) [/caption]
[caption id="" align="alignnone" width="4284"] To finish the waistband ends, fold the ends right side to right side as shown. Pin down to the seam allowance lines - both stitched and pressed in place. Sew using a 5/8” seam allowance. Trim and snip the corner if your fabric is thick. [/caption]
 [caption id="" align="alignnone" width="3024"]
 Flip, and lightly press. [/caption]
[caption id="" align="alignnone" width="5712"]
Flip, and lightly press. [/caption]
[caption id="" align="alignnone" width="5712"] Pin your waistband on the inside, with the pre-pressed seam allowance covering the waist seam and stitching. [/caption]
[caption id="" align="alignnone" width="5712"]
Pin your waistband on the inside, with the pre-pressed seam allowance covering the waist seam and stitching. [/caption]
[caption id="" align="alignnone" width="5712"] Run a stitch in the ditch on the outside, where the short body meets the waistband. Match your thread to the fabric, and embed the stitches so they are mostly hidden. [/caption]
[caption id="" align="alignnone" width="5712"]
Run a stitch in the ditch on the outside, where the short body meets the waistband. Match your thread to the fabric, and embed the stitches so they are mostly hidden. [/caption]
[caption id="" align="alignnone" width="5712"] The inside seam will be caught as you sew. [/caption]
[caption id="" align="alignnone" width="5712"]
The inside seam will be caught as you sew. [/caption]
[caption id="" align="alignnone" width="5712"] Bring your belt tabs up to the top of the waistband, and fold them over. As you can see, I did trim mine 1/2” to reduce bulk. Pin well and sew. Pass the stitch line over them at least twice. [/caption]
 [caption id="" align="alignnone" width="5712"]
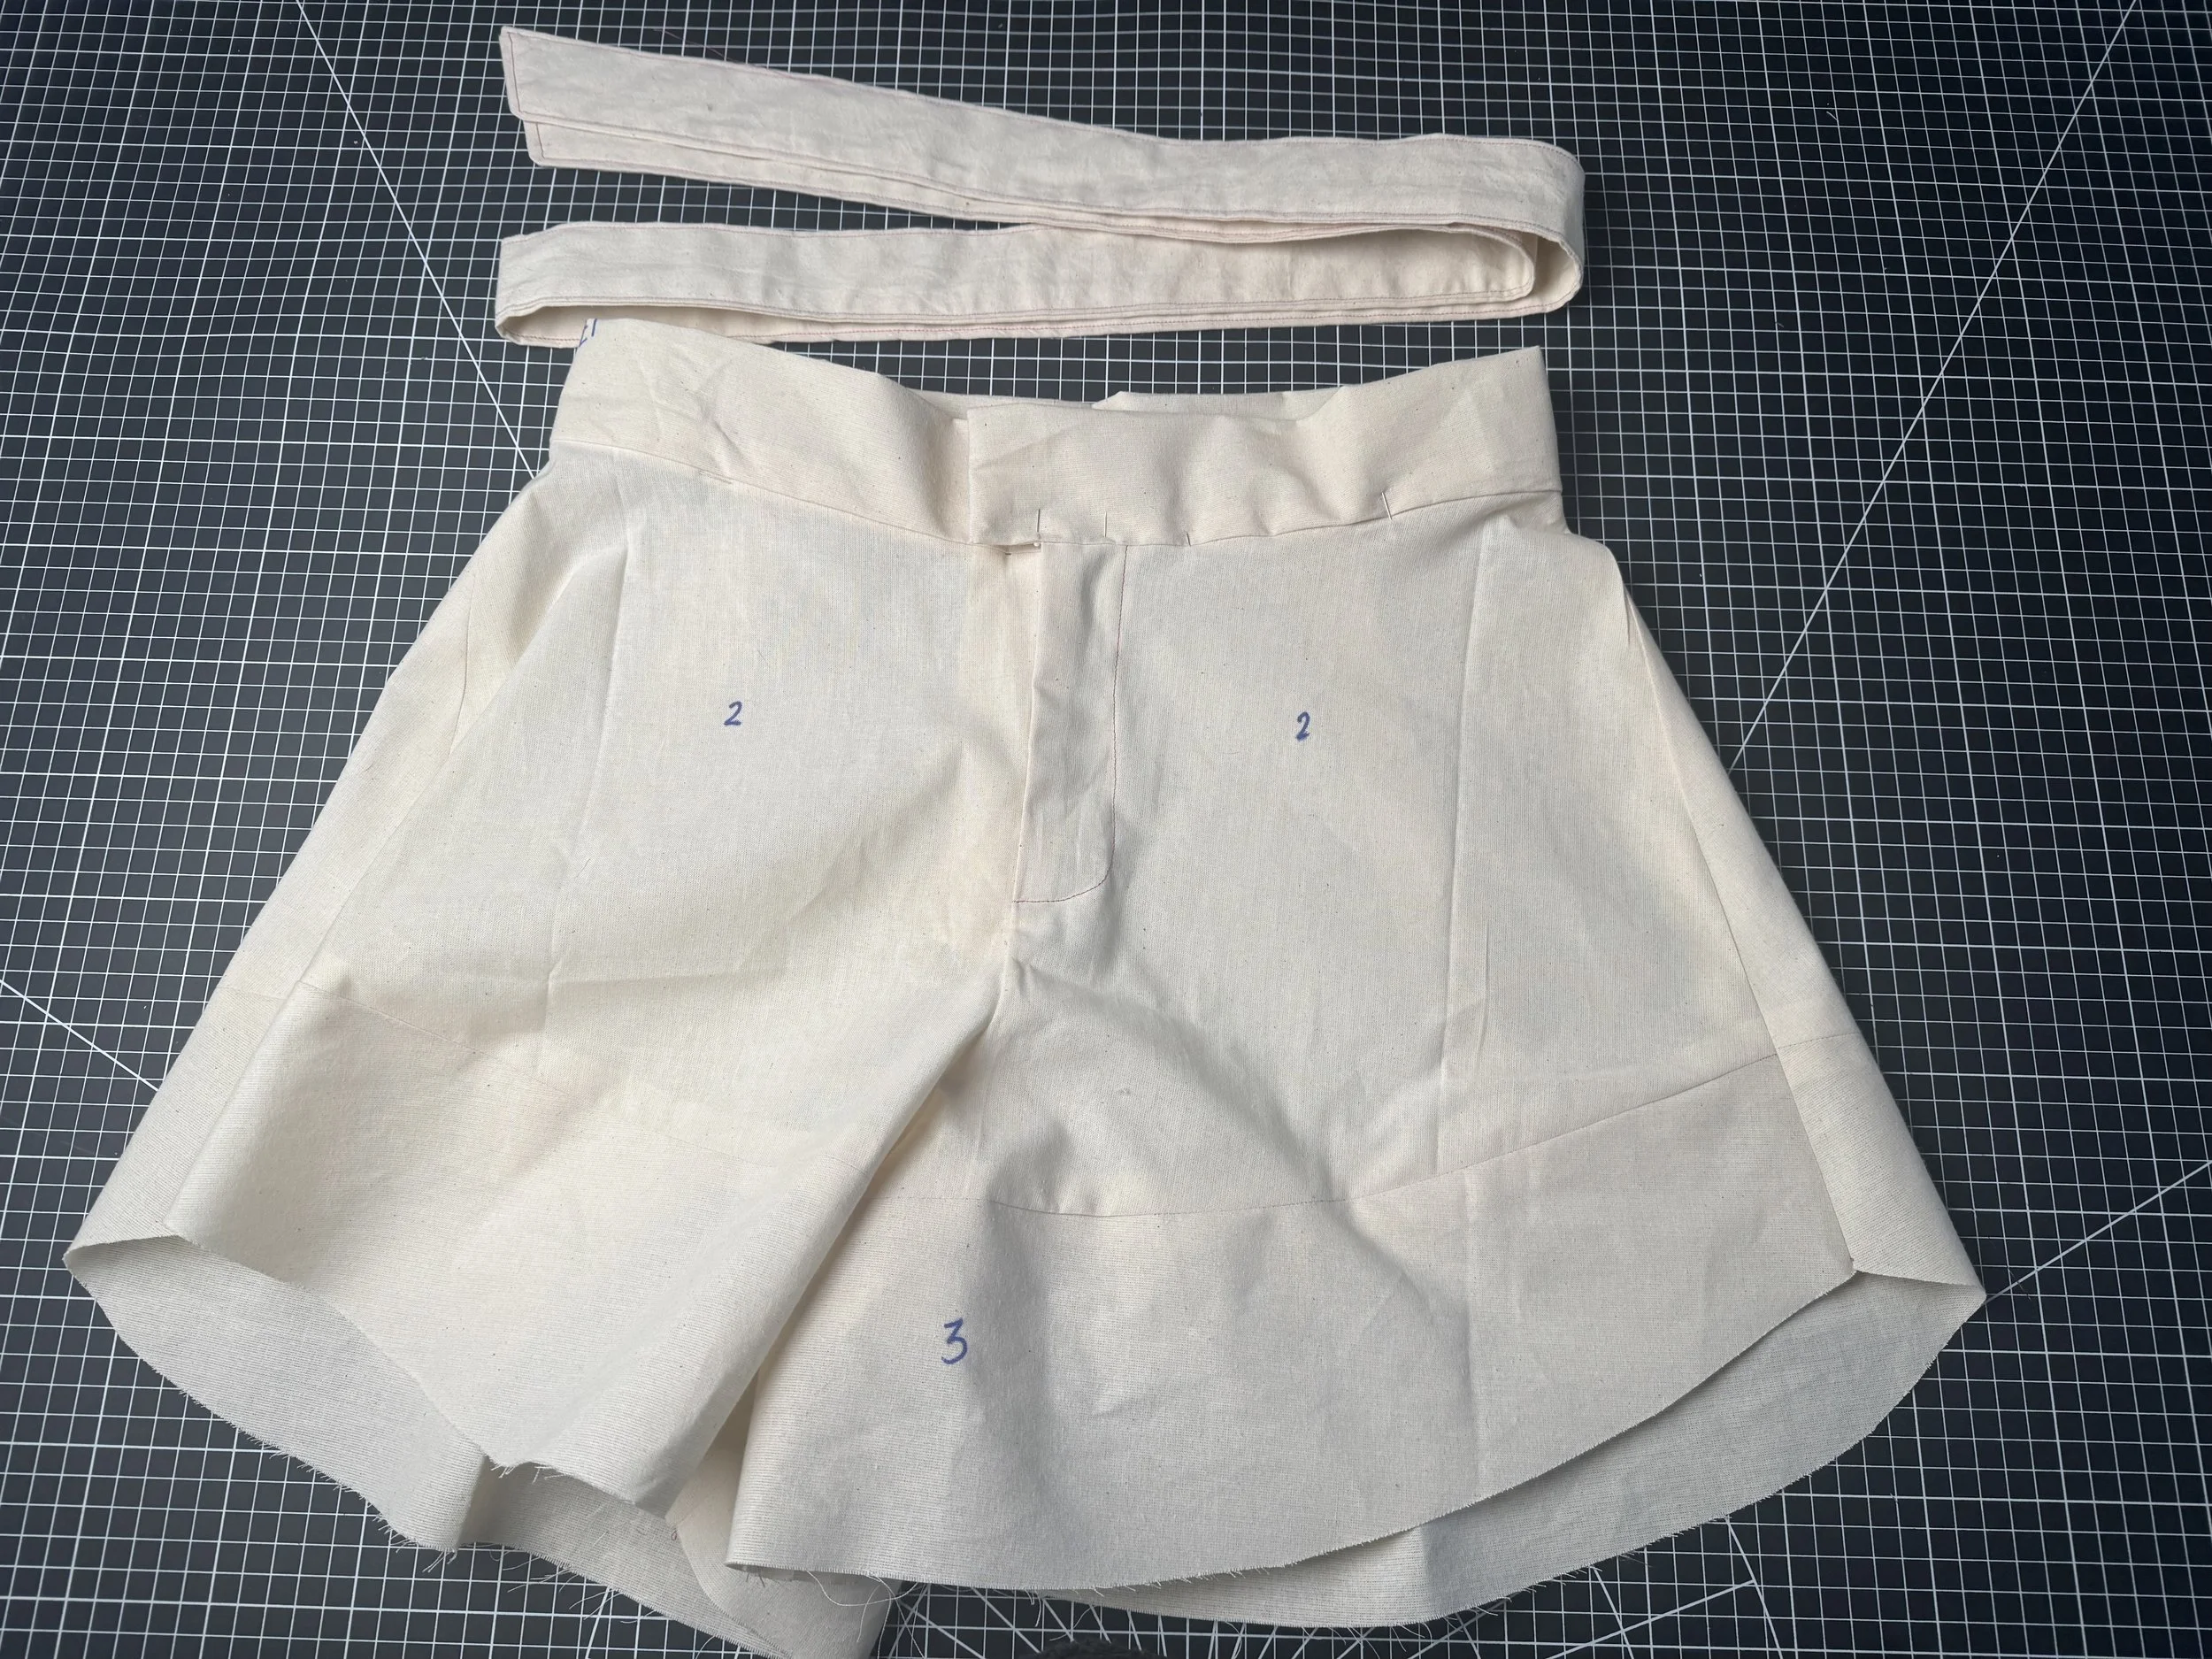
 To finish the belt tie, fold and press in half - right side to right side. Use an interfacing if your fabric needs some additional stability. I like to use it on one lengthways side only. (picture below from the Dauphine Skirt belt) Pin, leaving a gap in the middle, so the belt can be turned right side out. Sew, using a seam allowance of 5/8”. [/caption]
 [caption id="" align="alignnone" width="5712"]
 Turn the belt, right side out, and pin. I don't trim the seam allowance here, as it helps internally with stability. Just snip the corners for a clean finish. [/caption]
[caption id="" align="alignnone" width="5712"]
Turn the belt, right side out, and pin. I don't trim the seam allowance here, as it helps internally with stability. Just snip the corners for a clean finish. [/caption]
[caption id="" align="alignnone" width="5712"] Sew a topstitch along both sides. [/caption]
[caption id="" align="alignnone" width="4032"]
Sew a topstitch along both sides. [/caption]
[caption id="" align="alignnone" width="4032"] That’s it for construction, Congratulations! [/caption]
[caption id="" align="alignnone" width="4032"]
That’s it for construction, Congratulations! [/caption]
[caption id="" align="alignnone" width="4032"]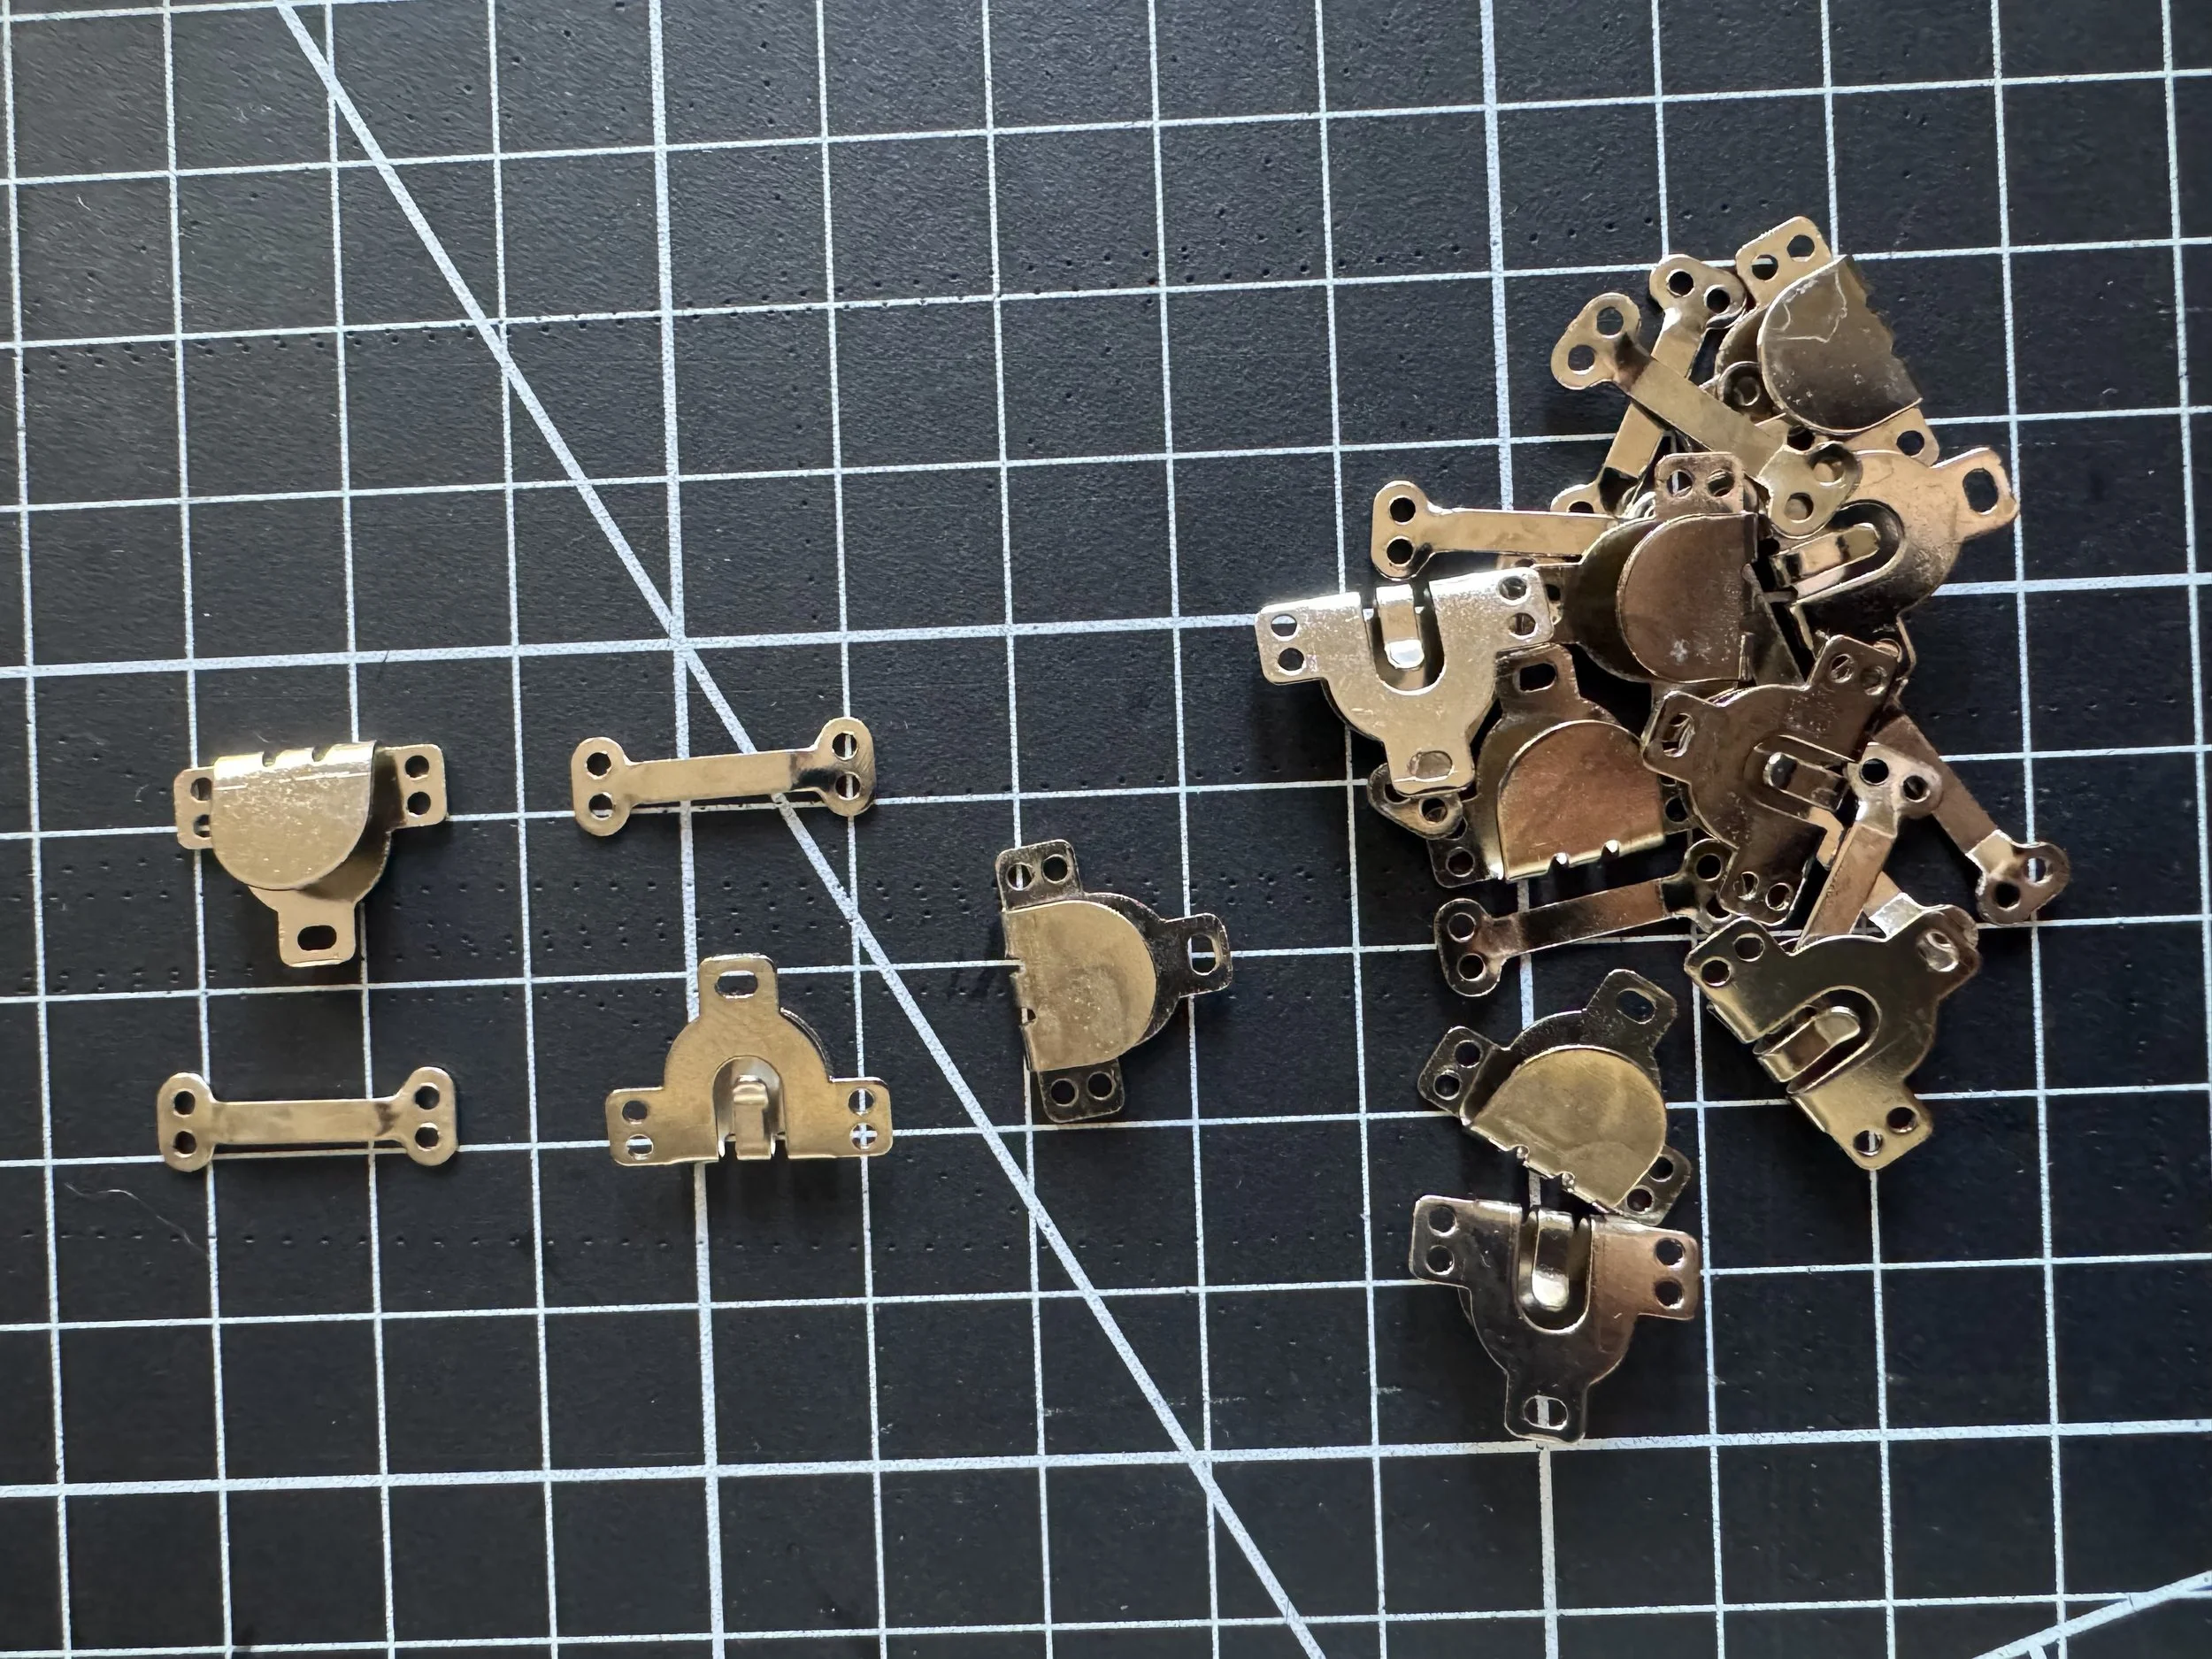 Use a pants hook and eye to close the waistband overlap, sewing with a double strand of beeswax thread. [/caption]
[caption id="" align="alignnone" width="5712"]
Use a pants hook and eye to close the waistband overlap, sewing with a double strand of beeswax thread. [/caption]
[caption id="" align="alignnone" width="5712"]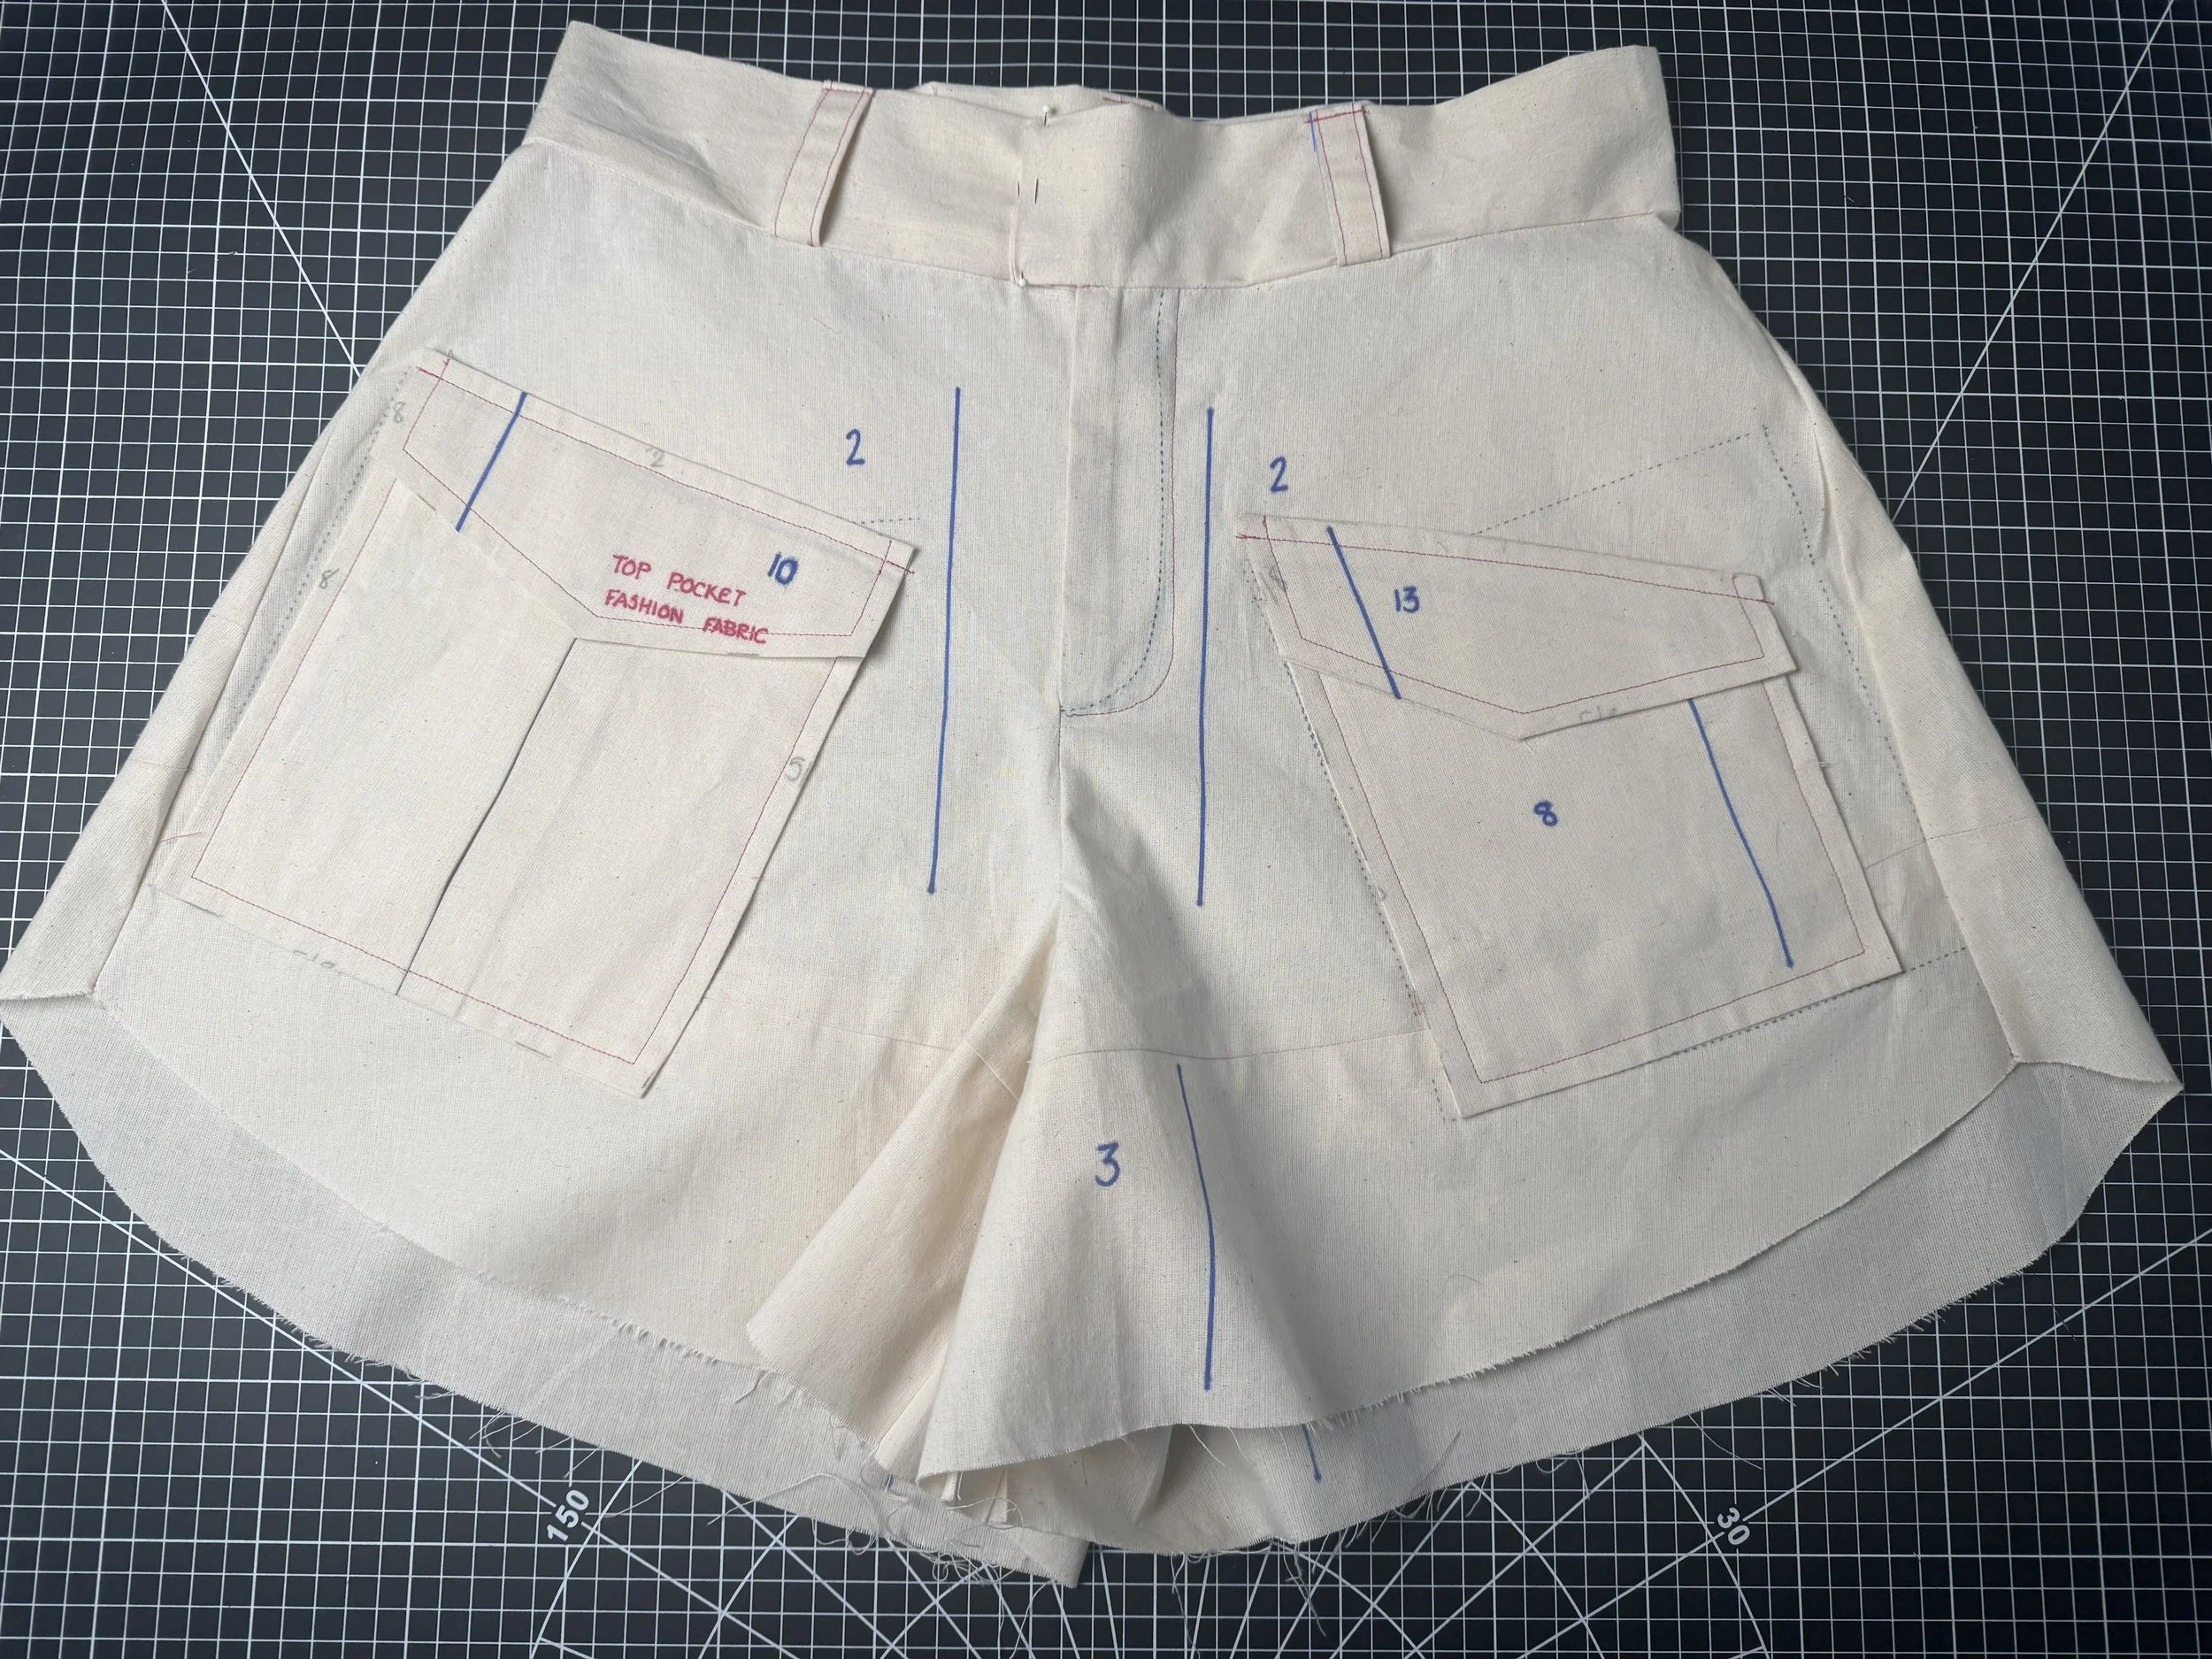 The hem seam allowance is 5/8” [/caption]
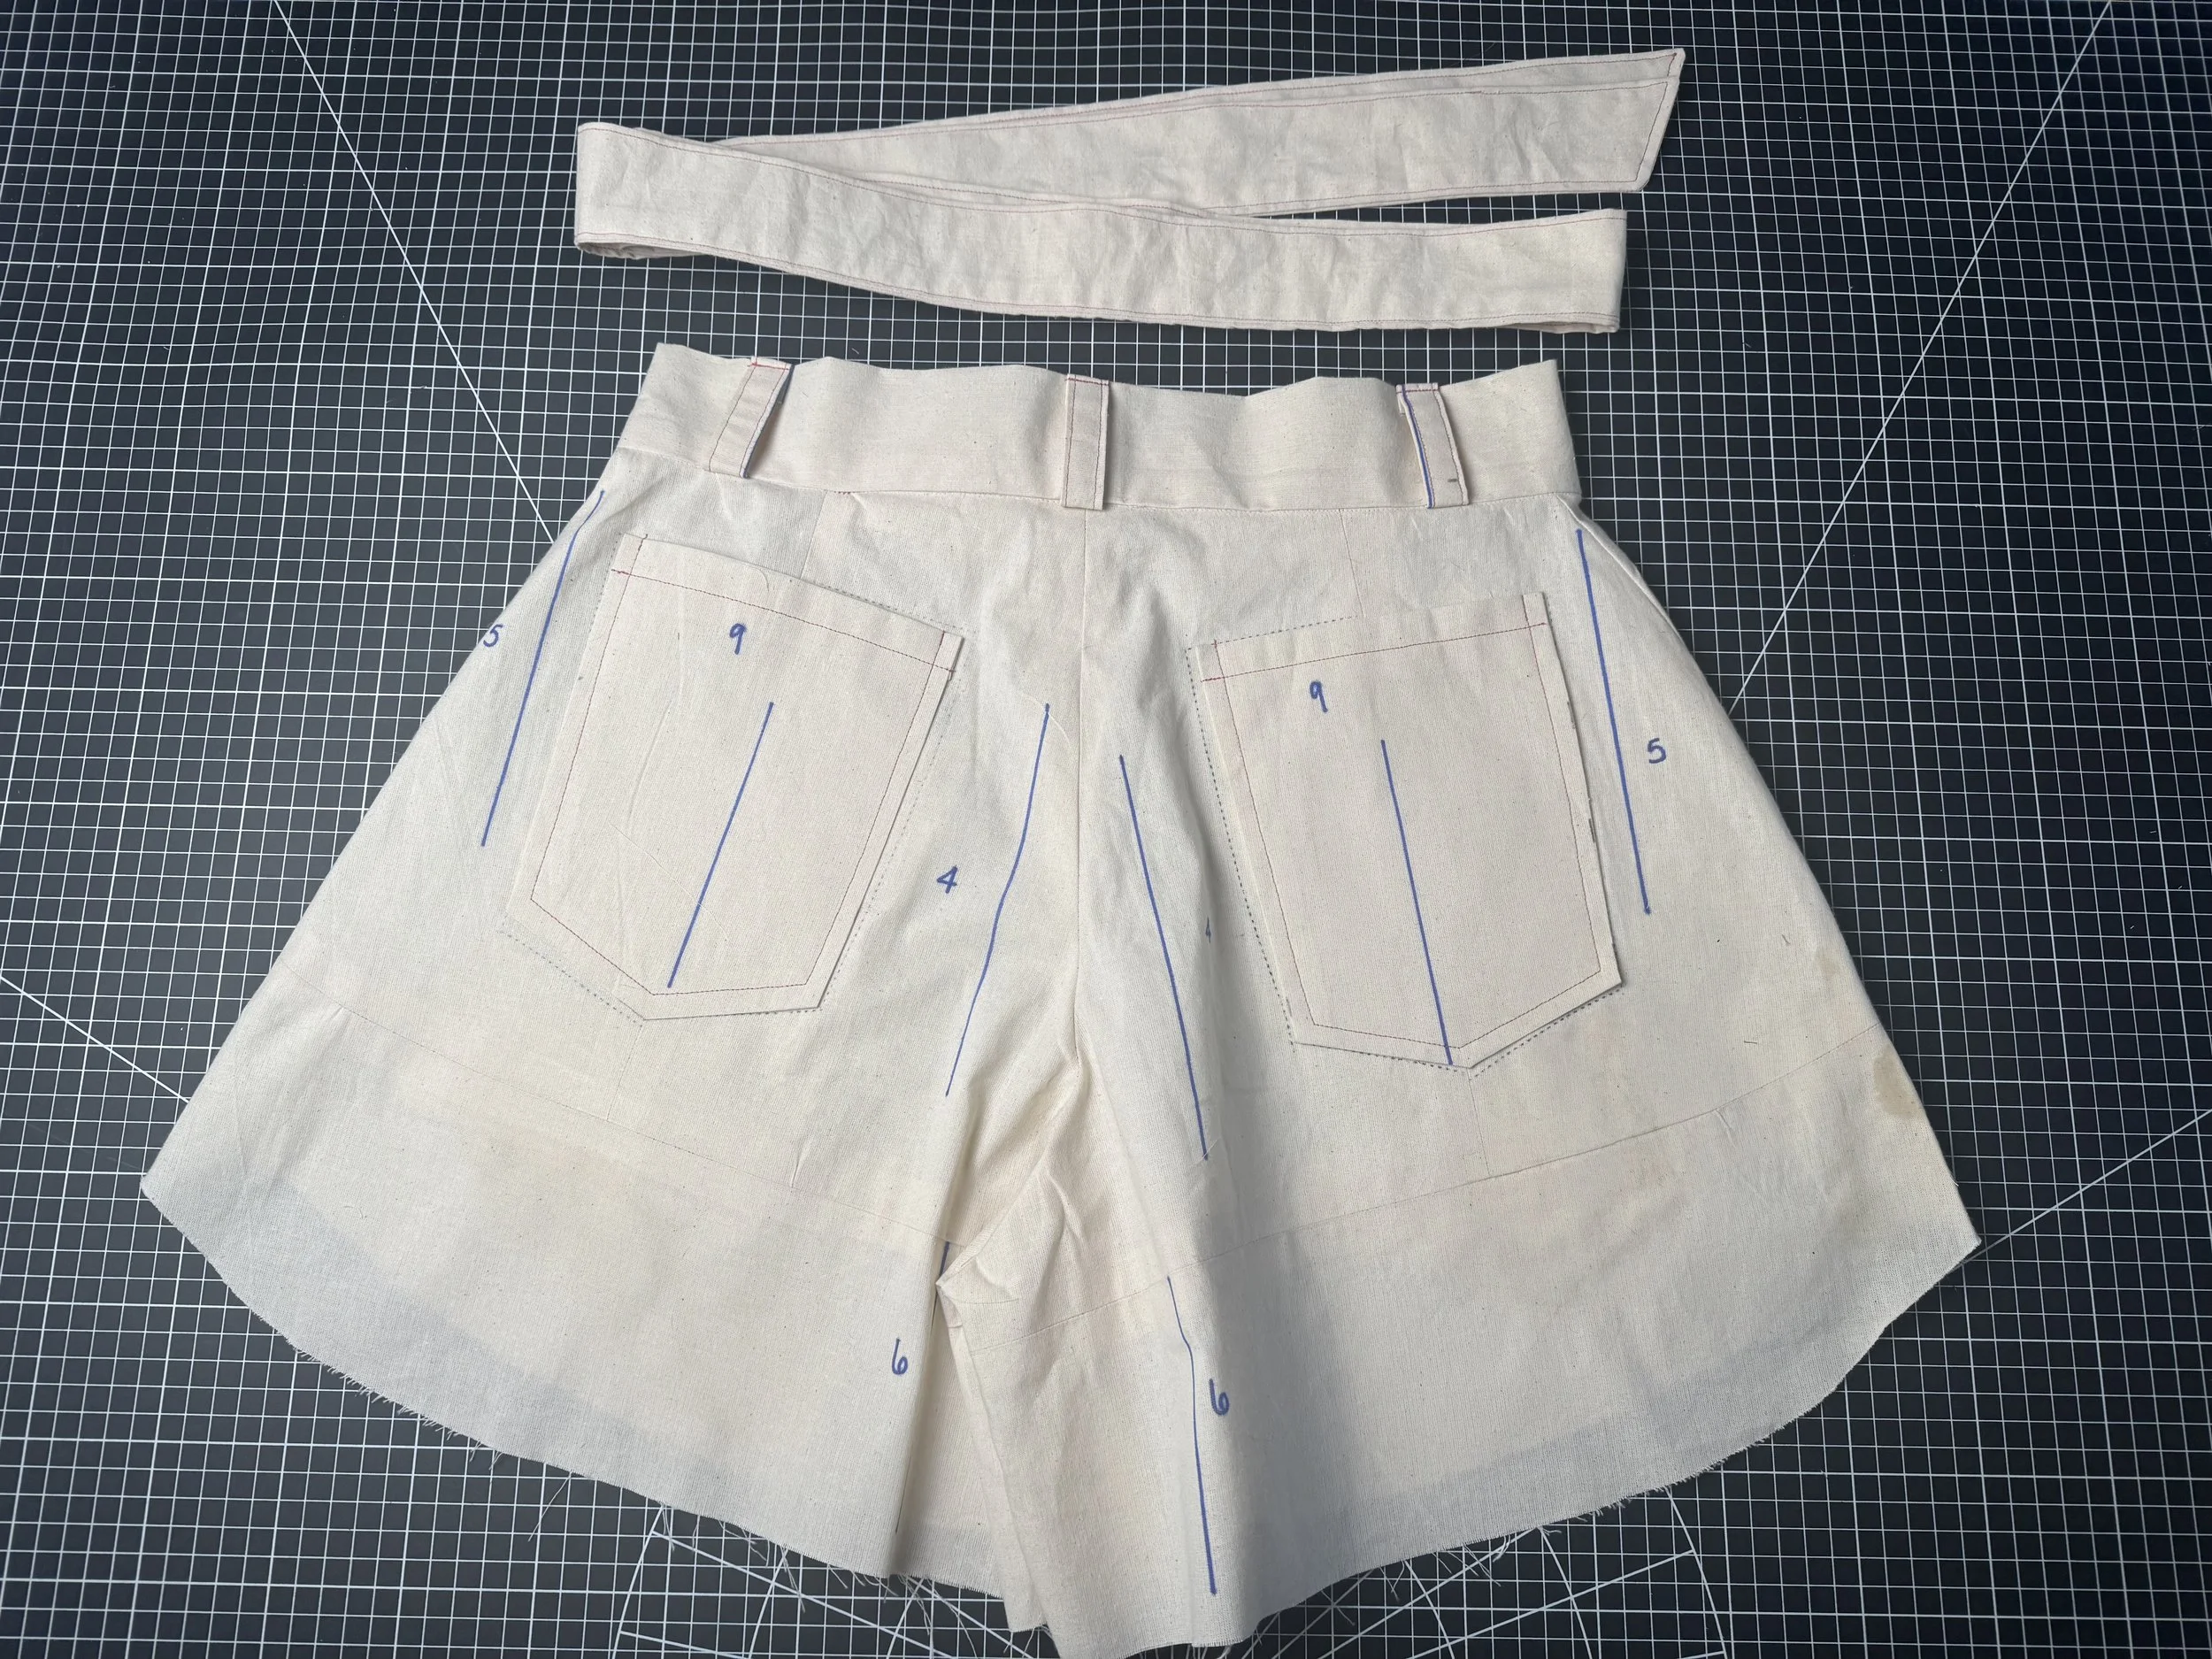 [caption id="" align="alignnone" width="5712"]
 and without pockets. [/caption]